Confirm your age
Are you 18 years old or older?
Come back when you're older
Sorry, the content of this store can't be seen by a younger audience. Come back when you're older.
No matter your venue—grass, sand, or solid ground—our portable dance floor kits are designed to instantly transform any space into a professional dance floor. With tool-free assembly, weather-resistant durability, and a smooth surface built for movement, these dance floors combine style and function, making them perfect for weddings, parties, discos, and special events.


Portable & Easy to Install
Each 3′ x 3′ panel weighs just 18 lbs, making it easy to transport and install while providing a sturdy surface for dancing. Enjoy the perfect balance of lightweight portability and durable performance.

No Walk Technology
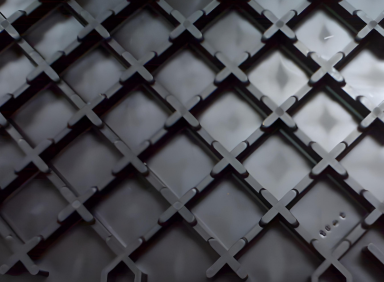
Our portable dance floor tiles comes with No walk peg bottom. With 840 support structures per square foot, your floor remains stable throughout the entire event.

PowerLock Interlocking Technology
Its locking system is the industry's most advanced and durable, designed for long-term performance. With four locks per edge, it ensures easy installation, removal, and durability across various terrains.

Our Large Dance Floor Tiles are ideal for outdoors base like grass or sand with it's no walk peg bottom. This can also be used indoors with thick, padded carpets. While our XL and Plus Dance Floor Tiles come with grid bottoms. Ideal in thin carpet and over concrete/hardwood floor base.
Once you have your base ready, choose the kit that suits your needs.
The pre-assemble kits comes with dance floor tiles and edging. See Kit inclusions in the description for more details.
certified easy to install
Floor Setup Simplified in Just 4 Steps

Step One
Begin the installation by laying down your first panel in any one corner and pointing the female PowerLocks in the two directions that additional panels are to be added.

Step two
Place the next panel so that the male PowerLock line up over the top of the female loops on the first panel. It’s important to make sure that the female PowerLocks are facing exactly the same direction as the first panel.

Step Three
Gently step along the joint of the two panels. You will hear and feel the PowerLocks snap into place as you go.

Step Four
Once the two panels are joined, repeat steps one through three remembering to keep the female PowerLocks aligned until your floor is complete.
That’s all there is to this easy-to-install flooring!
PORTABLE DANCE FLOORS FOR WEDDINGS, EVENTS, AND HOME


FAQs
Our dance floor kits are complete sets of interlocking tiles with edging, designed to create a smooth, durable surface for dancing. They’re easy to assemble with no tools required, making setup and takedown fast and stress-free.
Yes! The Large Dance Floor Tiles feature a no-walk peg bottom that works perfectly on outdoor bases like grass or sand. For indoor setups on concrete, hardwood, or carpet, our XL and Plus Dance Floor Tiles with grid bottoms are ideal.
Absolutely. Each kit is lightweight and designed for quick assembly and disassembly, so you can easily transport them to weddings, parties, events, or performances. They’re the perfect portable dance floor solution.
These kits are versatile and can be used for weddings, parties, school dances, disco dance floors, corporate events, and more. Wherever you need a safe, professional-looking dance floor, our kits deliver.
Made with high-quality materials and PowerLock™ interlocking technology, these dance floors are built to withstand heavy use. They’re weather-resistant, easy to clean, and come with a 12-year manufacturer’s warranty.


